If you read my previous post all about sensory play for babies and toddlers, you may be wondering how I made the glitter sensory bottles, so here is a quick how to guide so that you can make your own....
The first thing you will need is an empty plastic bottle...
Rinse out the bottle and dry. Next you will need GLITTER GLUE and LOTS of it!!!
If you don't have any glitter glue then you can mix PVA and glitter together....
It wont be the same effect as glitter glue, because PVA is slightly more opaque, and glitter glue is more transparent so it shows off the glitter much better!!
Put your glitter glue or PVA/glitter into your bottle (do not fill the bottle)...
The next thing you need to do is add some HOT water (do not fill to the top). It needs to be as hot as your tap will go so that the glitter glue and the water mix together, otherwise you will end up with blobs of glue floating around in water! At this stage you can also add some food colouring if you wish. I added green to mine.
Shake the water and glue together till it is all mixed up.
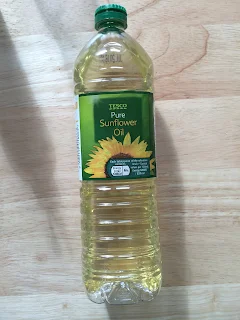
I also added some oil at this stage to give another effect - when the bottle is still, the oil settles on the surface as it does not mix with water...
Shake together and please make sure to secure the lid properly - I glued the lid on and added some strong tape just to make sure!
Leaving part of the bottle empty creates a nice effect when the glitter and glue is running down the inside of the bottle.
More home made project ideas here:
Would you like to subscribe to my feed? (please check spam folder for confirmation link within email):
 Learning through play posts


